Русский
  English
  Registration


Proxy Server Configuration
04 JanTutorial: Easy proxy setup in Android in 30 seconds

- access to certain Internet resources from your country is blocked;
- the Wi-Fi network gives only partial Internet access to some sites;
- the current IP address is blocked for work in social. networks, etc.
Features of setting up a proxy on Android
The principle of setup does not differ from that on a laptop or computer. It is necessary to specify the address of the proxy server, which consists of the IP address of the XXX.XXX.XXX.XXX format, and the port number of the XXXX format. The specifics of the setup depend on the presence of root rights on the phone. The presence of these rights allows you to make the configuration more flexible and convenient by installing special applications. Hacking the phone is carried out at the owner’s own risk.1. Setting up if you have root rights
If the rights are obtained, the easiest way to configure it is to install ProxyDroid. The principle of operation is that when connecting to the Internet, the phone communicates with a proxy server and works through it. Principle:- Download and run the program.
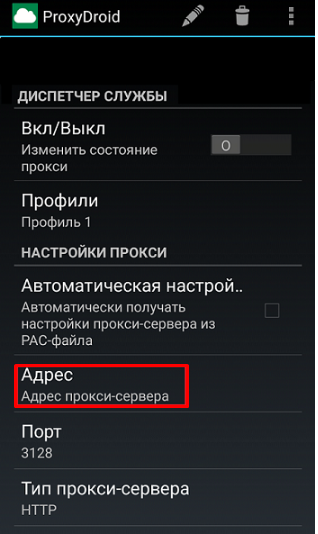
- In the “Proxy Settings” menu item, select “Address”, insert the IP, click OK.
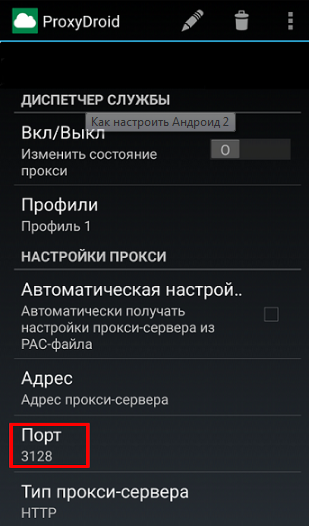
- The same actions with the “Port” menu item.
- In the “Auto-connect” field, activate automatic start when connected to the network.
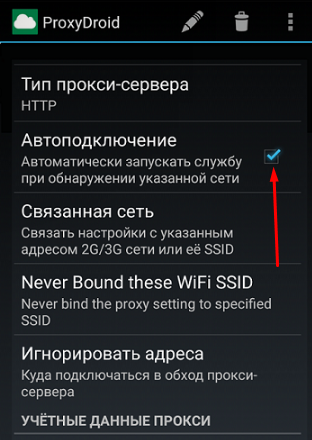
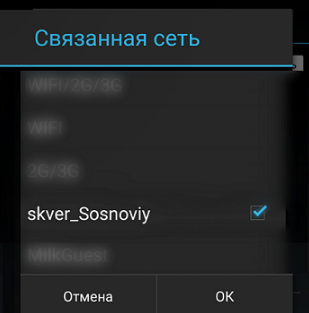
- In the “Bound Network” section, select the networks that will connect to the proxy when connected. You can choose 2G/3G, WI-FI – all or specific networks.
- By selecting ON/OFF in Service Manager, change the connection state.
- enter the command: am start -a android.intent.action.MAIN -n com.android.settings/. ProxySelector
- press Line break.
2. Non-rooted setup
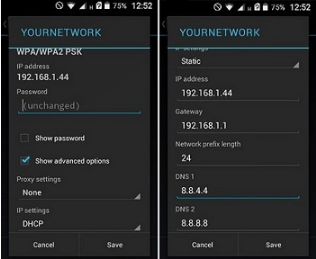
Through the standard item in the network settings. Wi-Fi:- Select the network, then select the “Advanced” item.
- Write down the IP address and port in the appropriate fields, click “Connect”.
- Opera – write opera:config in the browser line. Next, look for the proxy parameters and fill in the Protocol fields (select HTTP or SOCKS), IP and port.
- Mozilla – install the ProxyMob add-on and fill in similar fields.
- Habit Browser – menu items can be found in the settings.
What to do if the proxy does not work on Android
There can be several reasons:- The Android version is not suitable for the program.
- Incorrect filling of fields – IP, port, protocol.
- Root privileges have not been obtained.
- Invalid, inactive proxy server.