Русский
  English
  Registration


Proxy Server Configuration
04 JanInstructions: Easy configuration of iPv4 and iPv6 proxies in the Proxifier software in 30 seconds

Buy High-Quality Proxifier Proxies – and More.
Everyone knows about the advantages of proxies – hiding the real IP address, bypassing server blocking, etc., but almost every program on the computer goes online – for updates, downloading content and other purposes. It’s easy to set up redirects in a regular browser, but how do you do it in other apps that don’t have the standard “Proxy Settings” menu item? A light and simple Proxifier program will come to the rescue, which directs all Internet traffic from all applications to a specified proxy server at once. In this article, we will figure out how to work with it.Proxifier Features
The program is available on the official http://proxifier.com website for free download. Works on Windows and macOS PCs. The utility is paid, with a free period of 31 days. Useful features of the program:- Redirecting traffic from specific applications or from all at once to the proxy.
- Bypassing network restrictions, firewall.
- Support for iPv4 and iPv6.
- Create profiles and rules for specific applications and hosts.
- Creating a chain of proxy servers to increase anonymity.
- View live traffic.
- HTTP, SOCKS 4/5 protocols;
- Windows versions – XP, 7, 8, 10;
- 64-bit encryption.
Configuring Proxifier
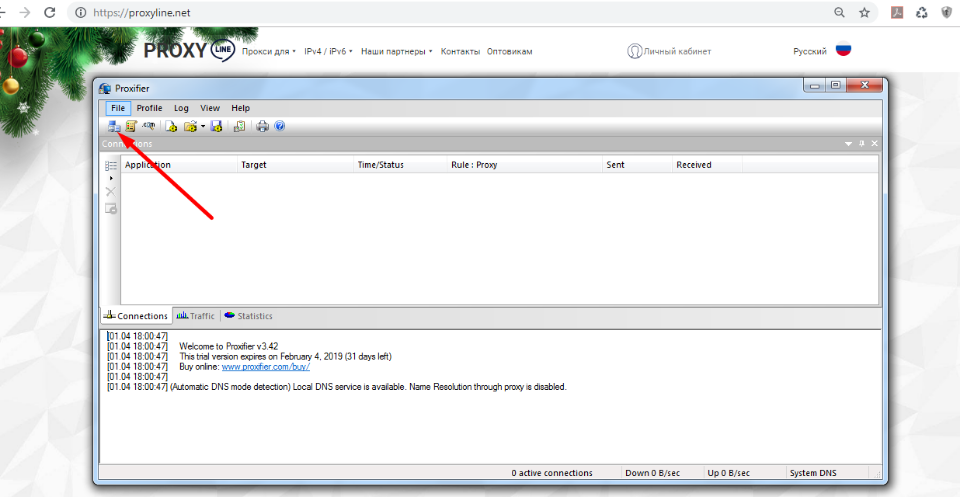
Most of the necessary settings are made through the Profile menu item, the “Proxy Servers” sub-item.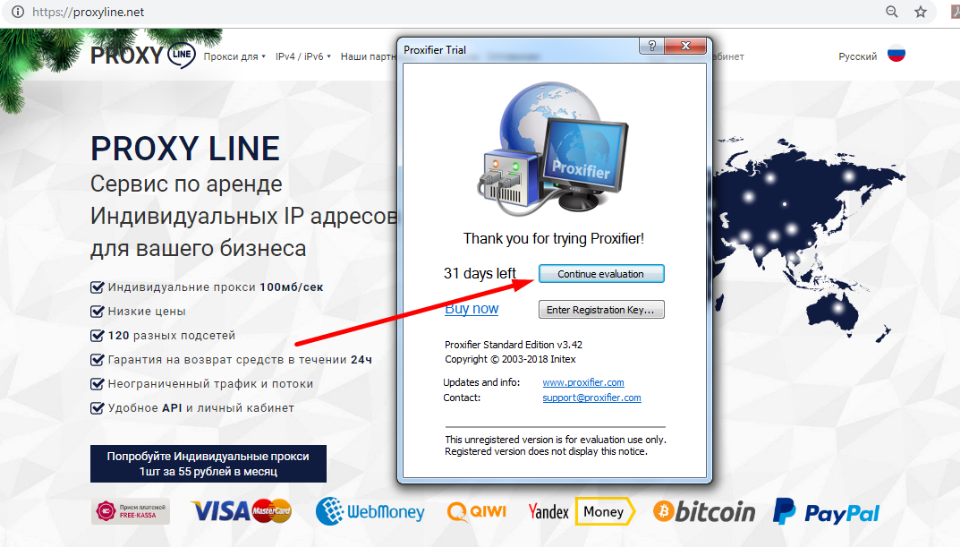
Configuring All Traffic on the Proxy
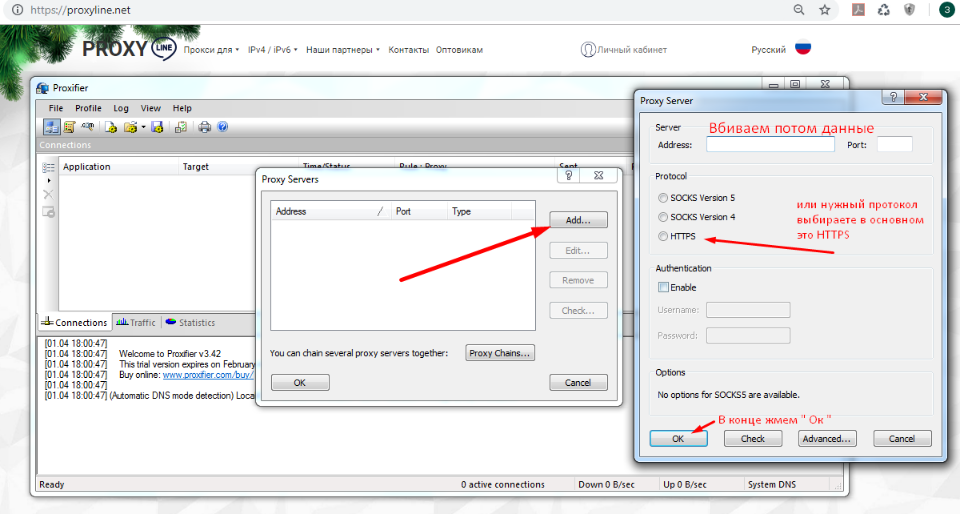
- As soon as we click Proxy Servers, a window will appear with an empty list. There, you need to add a proxy by clicking the Add button.
- A window will appear where you insert the iPv4 or iPv6 address in the Address field, and the port number in the Port field. By the way, when writing an address, the port is separated from the IP address by a colon, for example – 213.27.152.15:3128.
- If you have an individual proxy, then you will have a login and password for it. They must be entered in the Username and Password fields by checking the Enable box.
- In the Protokol field, do not forget to select the protocol. HTTPS is commonly used by browsers, SOCKS by programs.
- Now click Check. The built-in tester will check the server for speed and availability. If the result is positive, save the settings by clicking OK. This will ask if we want to use the added proxy server by default. Press YES and the setup is complete. Now all PC traffic goes through the specified proxy.
Configuring application-specific traffic to a separate proxy
If we have added multiple proxies, there is an option to use each for its own set of applications. Even if we have only 1 proxy, it can be linked to a separate program, while all the rest of the traffic will go in the usual way, bypassing it.- Select Profile-Proxification Rules. By default, we see 1 line – Default. This is a setting for all programs. In the Action field, you can select a specific proxy, as well as the Direct (set by default, means bypassing all proxies) and Block (by selecting this item, the entire connection to the Internet on the PC will be blocked).
- To configure a rule for a specific application, select Add.
- In the window that opens, assign a name – the Name field.
- In the Applications field, add programs with the Browse button – look for files with an exe extension, for example, firefox.exe.
- Target Hosts, Target ports – not required.
- Action – similar to the one described above – you can choose the action that the Proxifier will take when the program starts.
- Click OK to save the rule. Notice that the new rule is added above the Default field. It can be moved up and down relative to other rules. But remember that the program executes the rules from top to bottom.